Legacy Flooring Contractors
Luxury Vinyl Products & Installation for Olathe, KS
Waterproof Luxury Vinyl for High-Traffic Homes
Luxury Vinyl Flooring Installation in Olathe, KS
Luxury vinyl flooring (LVT and LVP) is one of the most popular choices for homeowners and builders today, offering the beauty of hardwood or tile with superior durability and moisture resistance. At Legacy Flooring Contractors, we proudly serve Olathe, Overland Park, Leawood, and surrounding areas with premium luxury vinyl options from brands like Armstrong, Shaw, Mannington, Metroflor, Konecto, and Congoleum. Whether you want a warm wood look or the clean texture of stone, our LVT collections are perfect for busy homes and high-traffic spaces.
Experience expert guidance, trusted brands, and professional installation with Legacy Flooring Contractors, your local luxury vinyl flooring specialists.
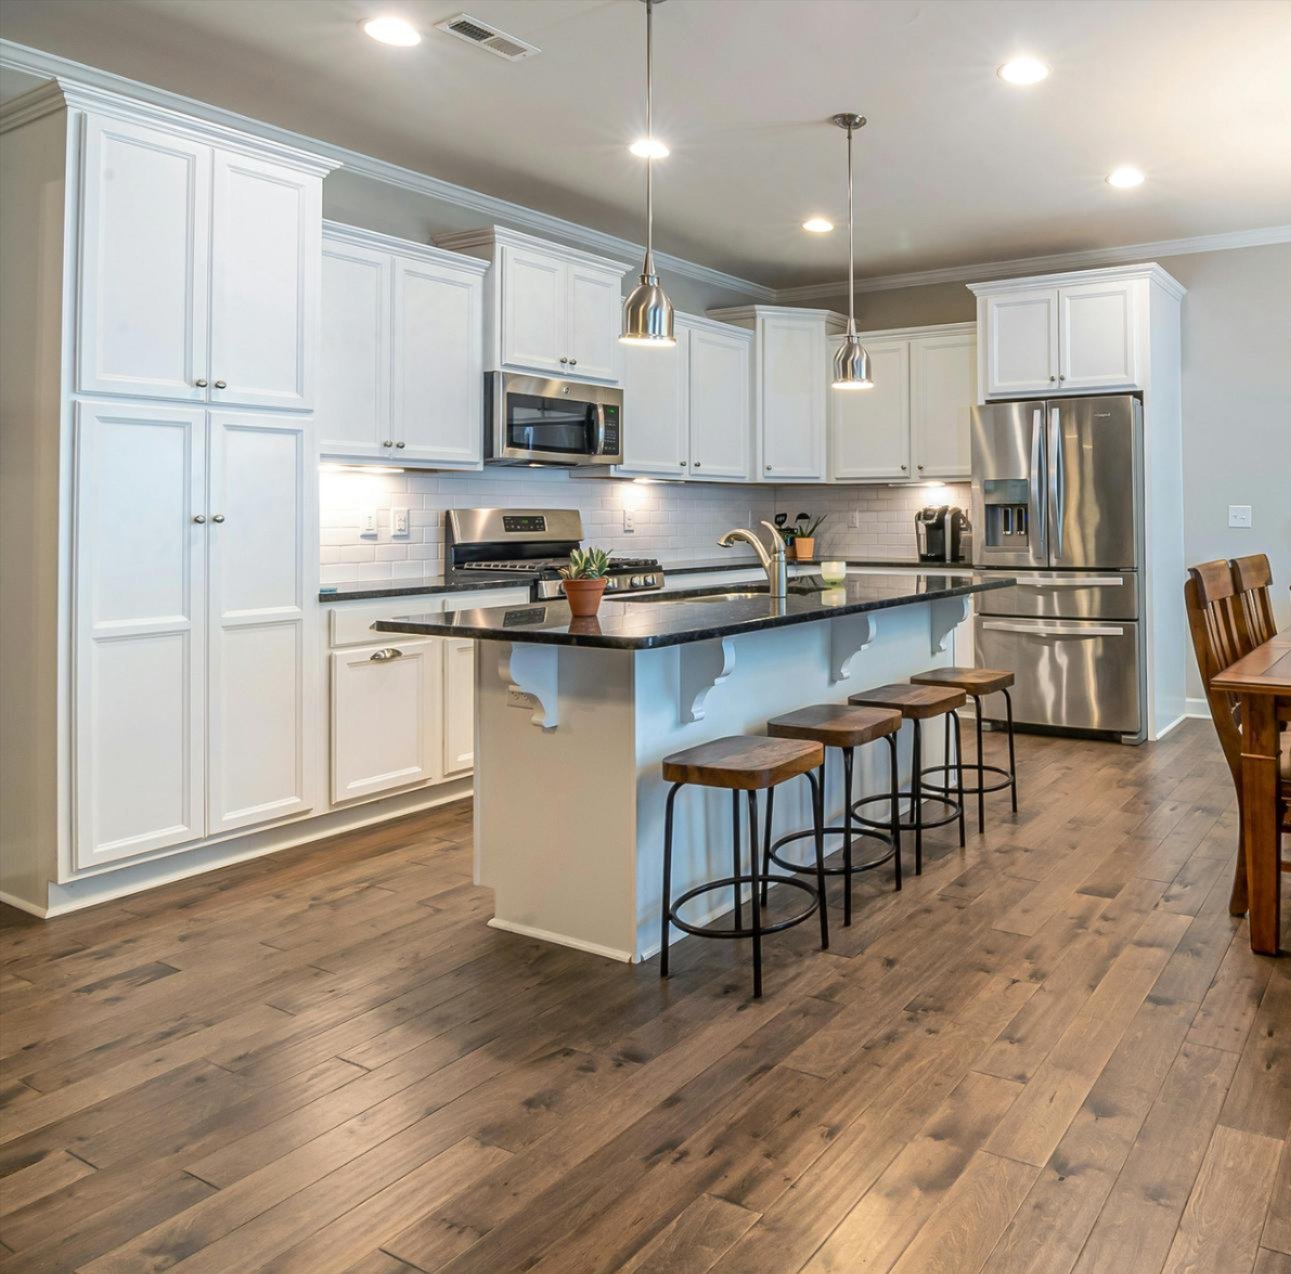

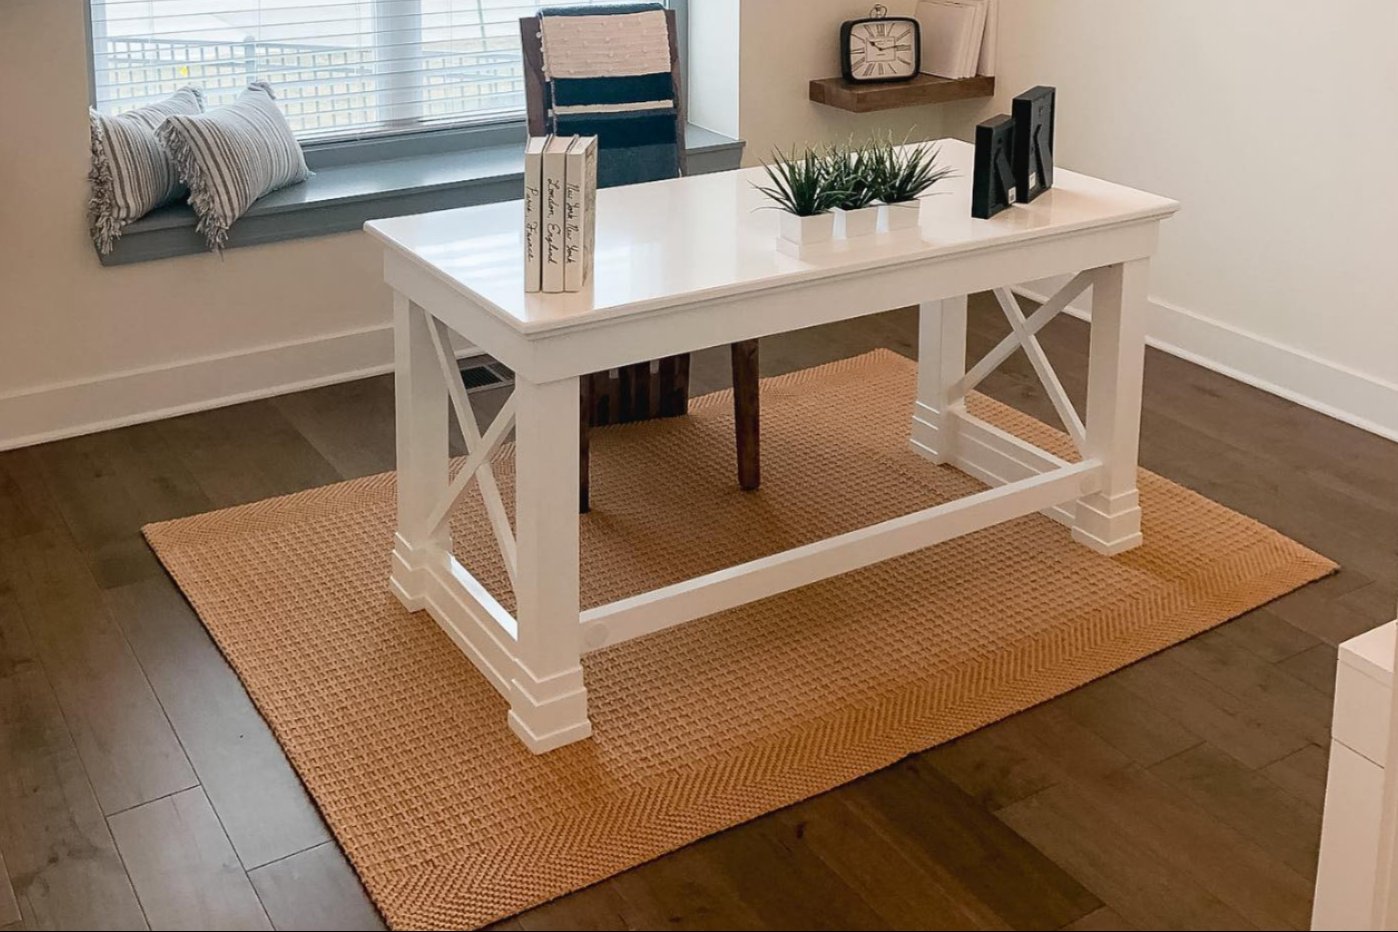
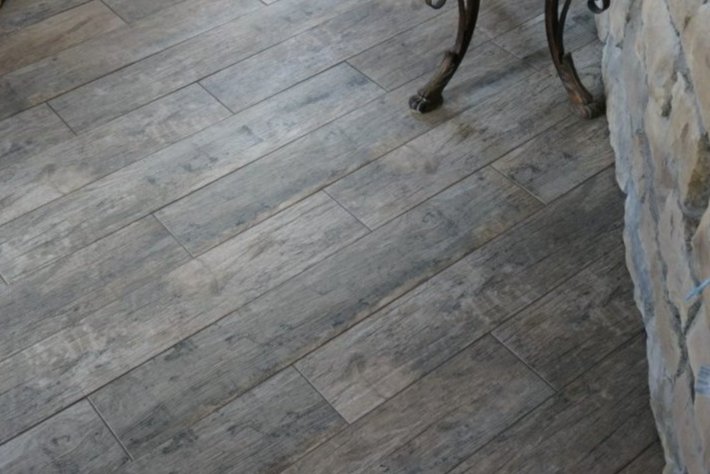
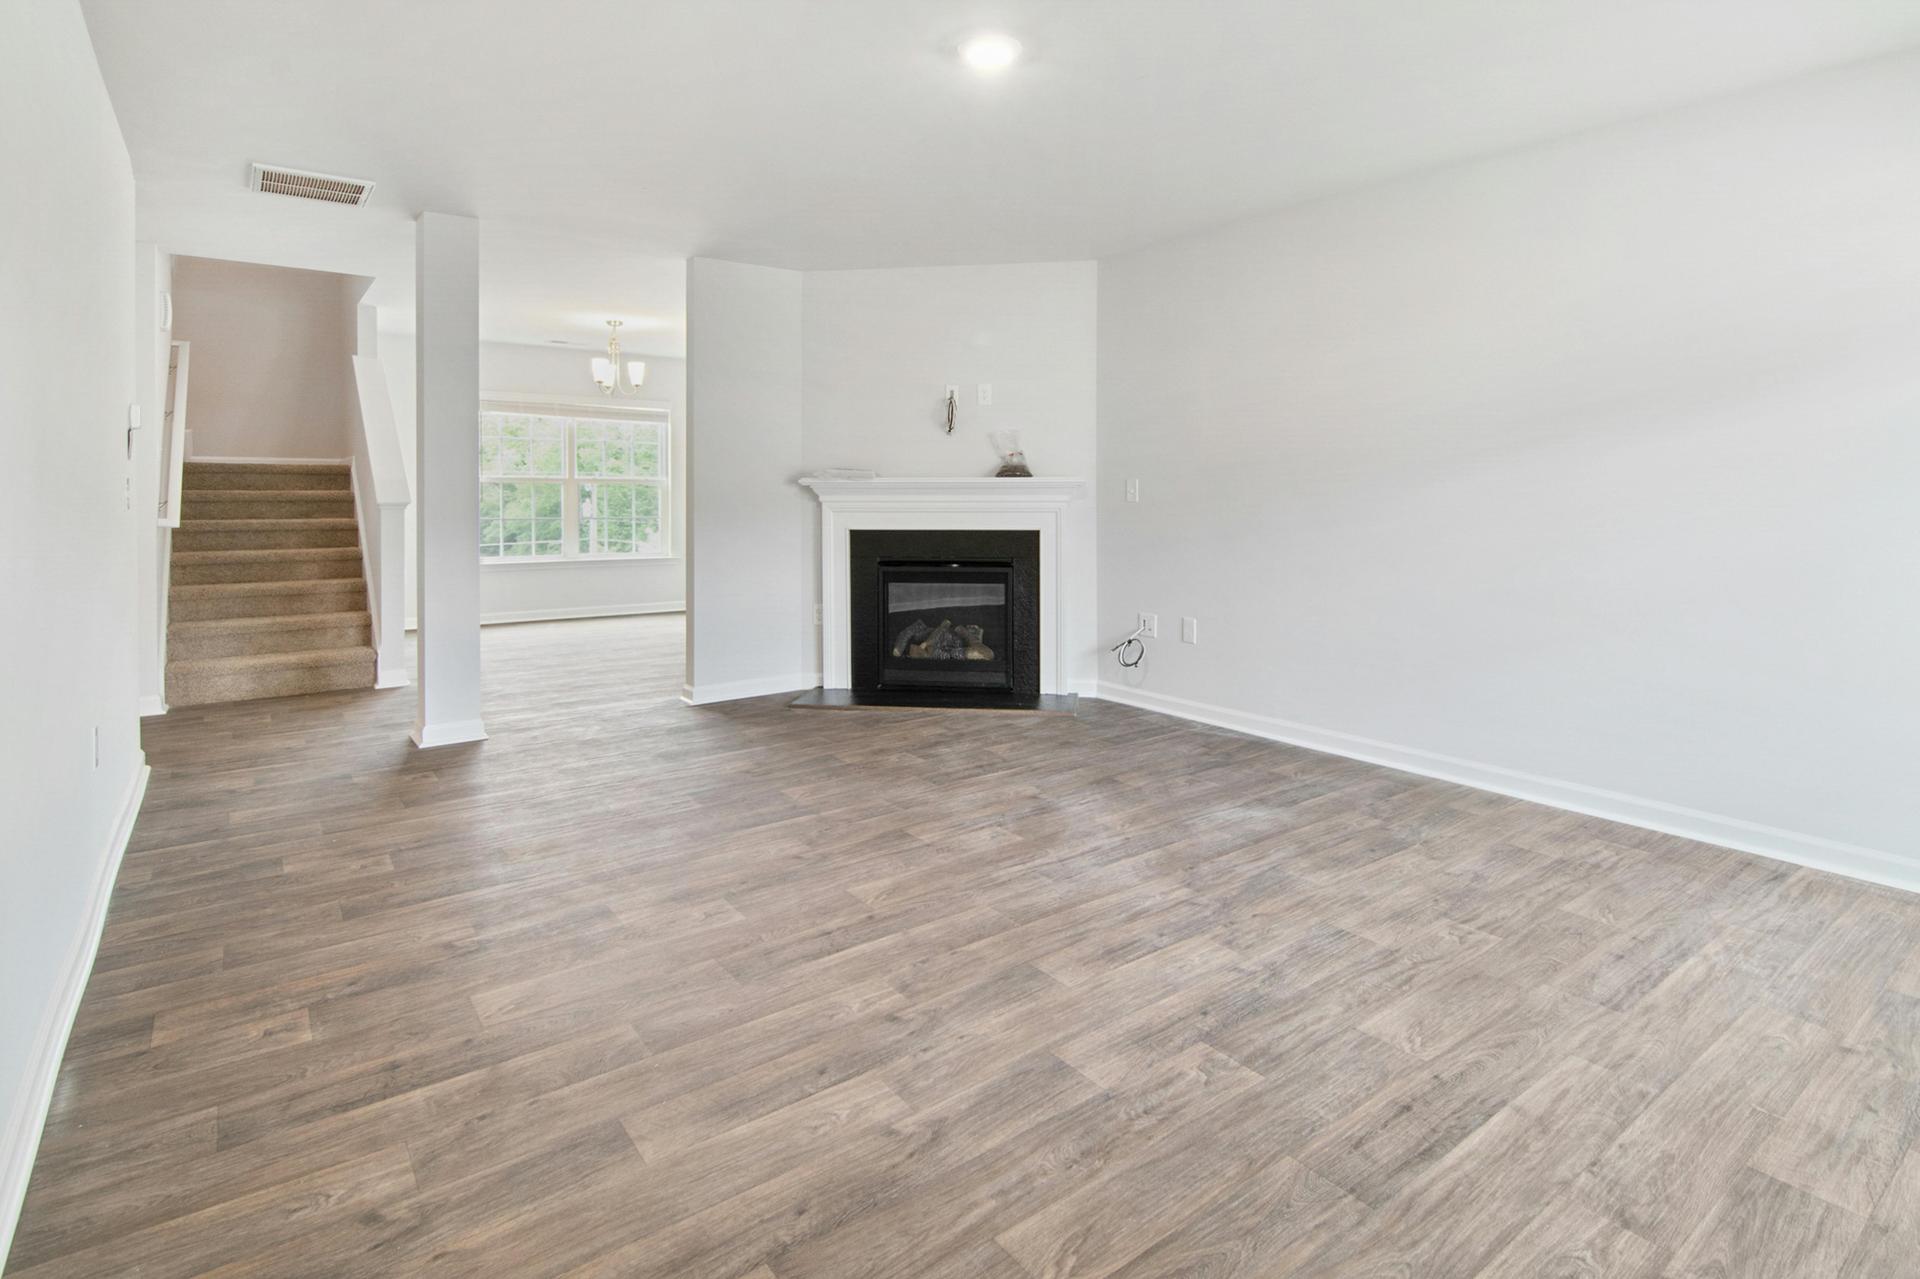
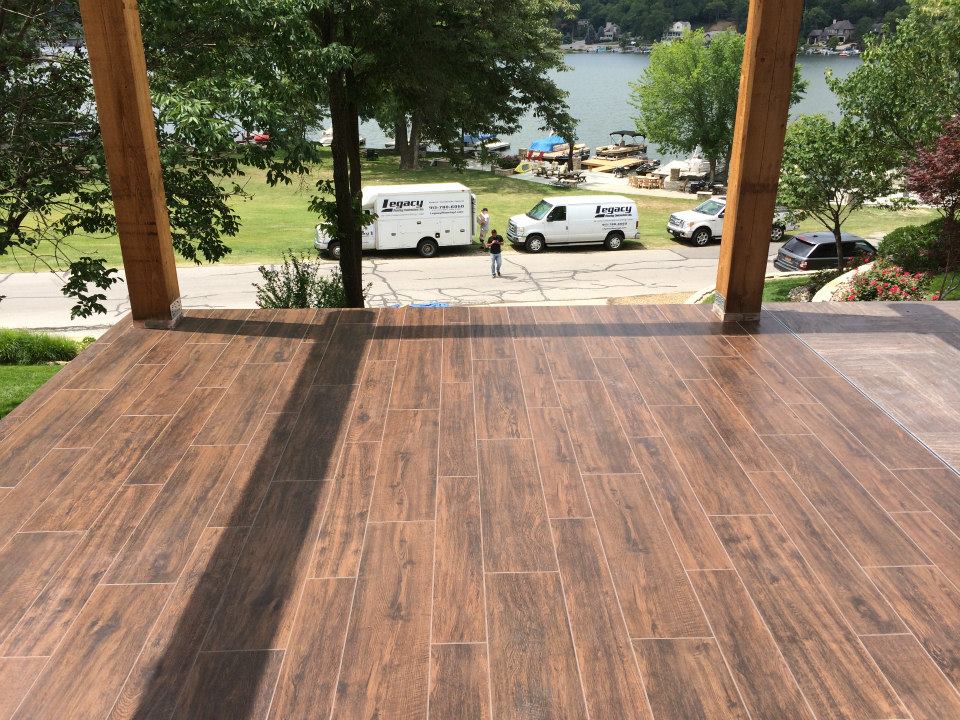
Luxury Vinyl Inspiration


Prep Like a Pro
Subfloor Guidelines & Room Conditions Matter
LVT can be installed over many types of subfloors—including dry concrete, wood, and existing hard surfaces. Just make sure the area is:
- Flat: No dips greater than 1/16” in 3’
- Clean and dry: Moisture barriers are recommended for concrete
- Stable: Avoid particle board or unstable subfloors with movement or deflection
- Conditioned: Acclimate flooring at 65–85°F for 48 hours before and after install
- Compatible: Do not install over cushioned vinyl, ramps, or under cabinets
Need Efficient, On-Schedule Flooring for Your Builds?
We partner with builders and commercial contractors across Johnson County to deliver quality LVT products and expert installation. Call 913-780-6060 or start a project with team today.
Know Where and How It Works Best
What to Consider for Room-Specific Installations
LVT performs great in kitchens, bathrooms, basements, and living spaces. However, special care should be taken in these areas:
- Bathrooms: Use silicone caulking around wet areas like tubs and showers
- Stairs: LVT is not recommended for staircases
- Radiant Heat: Safe if subfloor does not exceed 85°F—gradually adjust temps
- Transitions & Finishing: Always leave ¼” expansion gaps around walls and fixtures and use trim to cover gaps

Floating Floor, Simple Setup
Easy Installation with Glueless Interlocking Technology
Our premium glueless LVT planks feature Uniclic® interlocking joints that lock planks into place—no adhesives required. This floating floor system is quick to install, water-resistant, and ready for traffic right away. Just prep a smooth, dry surface, and you’re good to go.
Protect Your Investment
How to Care for Your Luxury Vinyl Flooring
Luxury vinyl is easy to maintain, but a few simple habits will help it last even longer and look its best.
- Sweep or vacuum regularly (avoid vacuums with a beater bar)
- Clean spills immediately with a soft cloth
- Use a damp mop with clean water or diluted vinyl-safe cleaner
- Place walk-off mats at entry points to trap dirt and grit
- Use felt pads under furniture to prevent scratches
- Avoid harsh cleaners, waxes, or steam mops
- Protect your floors from direct sunlight with blinds or curtains
Love the Look of Luxury Vinyl? Let’s Make It Yours.
From busy family homes to stylish upgrades, we’ll help you choose and install the perfect floor.
Call or fill out the form to get started!
Luxury Vinyl Flooring FAQs – What Homeowners Ask Most
Can I install luxury vinyl over tile or old flooring?
Yes, LVT can float over many hard surfaces like ceramic tile, vinyl, or existing hardwood, as long as the floor is flat, dry, and free of major movement or damage.
Why is my vinyl floor lifting at the edges?
This could be caused by subfloor moisture, improper acclimation, or lack of expansion space. Make sure installation follows proper guidelines for temperature and spacing.
Is luxury vinyl really waterproof?
While LVT is highly moisture-resistant and great for kitchens or bathrooms, it doesn’t block moisture from underneath. A moisture barrier is recommended over concrete subfloors.
What’s the best way to clean LVT flooring?
Sweep regularly and use a damp mop with clean water or diluted cleaner made for vinyl. Avoid harsh chemicals, waxes, or steam cleaning.
Can I put heavy furniture or appliances on luxury vinyl?
Yes—but use wide, non-staining floor protectors and avoid dragging items. Furniture with rolling casters should have soft rubber wheels or sit on protective mats.
Does LVT need to be sealed or waxed?
No sealing or waxing is needed. LVT comes with a protective top layer that’s stain- and scuff-resistant right out of the box.